
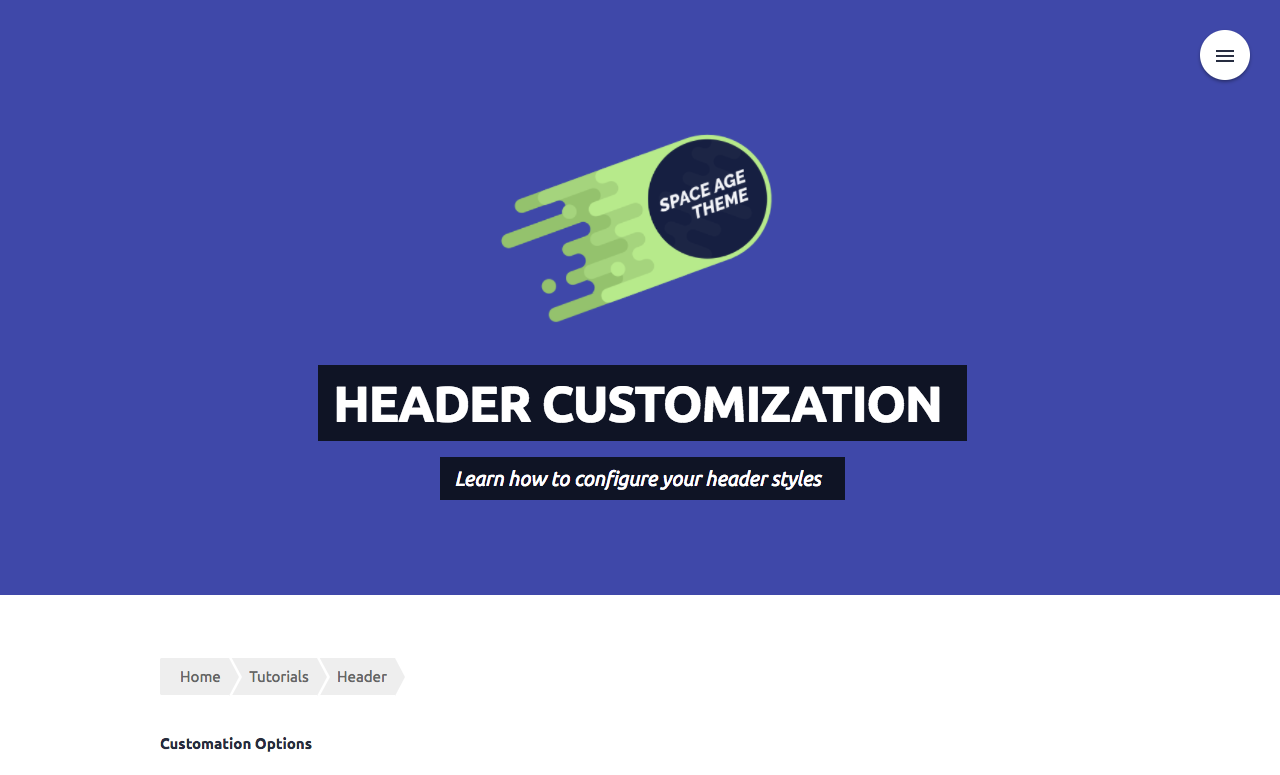
Customization Options
- Toggles
- Colors
- Background
- Text Alignment
- Logo
- Size
- Animation
Header > Toggles
The Header > Toggles section will allow you to hide/show certain items in the header area of your page. There are currently three options:
- Hide Logo
- Hide Title
- Hide Slogan
You can simply check an option to hide the specified element on the page. This is for users who may not want to display certain elements like their logo, or slogan, etc.
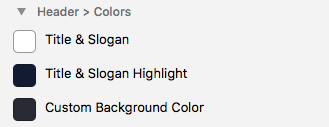
Header > Colors
There are only a few color options that you can change for your header. We tried to keep it simple to make sure that your theme looks great no matter what. The color options that you can change are:
- Title & Slogan
- Title & Slogan Highlight
- Custom Background Color
You can ignore the third option, Custom Background Color as we will cover this in the next section of the tutorial.
For now lets focus on the first two options, Title & Slogan and Title & Slogan Highlight:
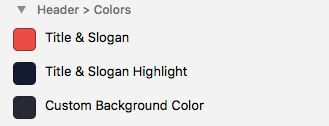
Title & Slogan
This color option will simple change the text color of your Title and your Slogan. We've kept them both the same color for aesthetic correllation.

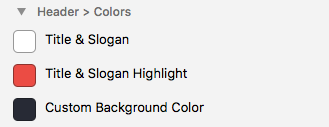
Title & Slogan Highlight
This color option will the rectangular area that is highlighting the Title and the Slogan.

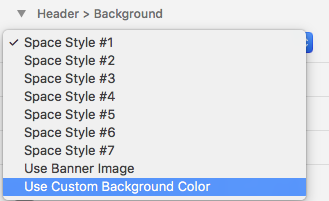
Header > Background
This option will allow you to change the background of the header section on your page. There are three specific options to choose from:
- Choose between 1 of 7 included space-style presents
- Use a custom background color
- Use Rapid Weavers' banner image feature
...
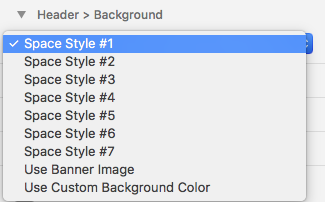
Using one of the space-style presets
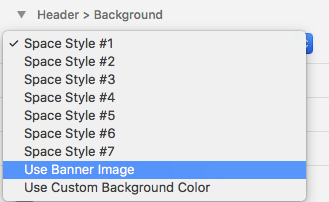
Using the included presets are extremely simple. All you have to do click on the Header > Background dropdown and choose one of the included options labeled "Space Preset"

...
Using a Custom Background Color
If you'd like to use a custom background color, first click on the Header > Background dropdown and choose the option labeled "Use Custom Background Color"

Next, you can choose the color that you would like to use by clicking on the color picker under the Header > Colors section.

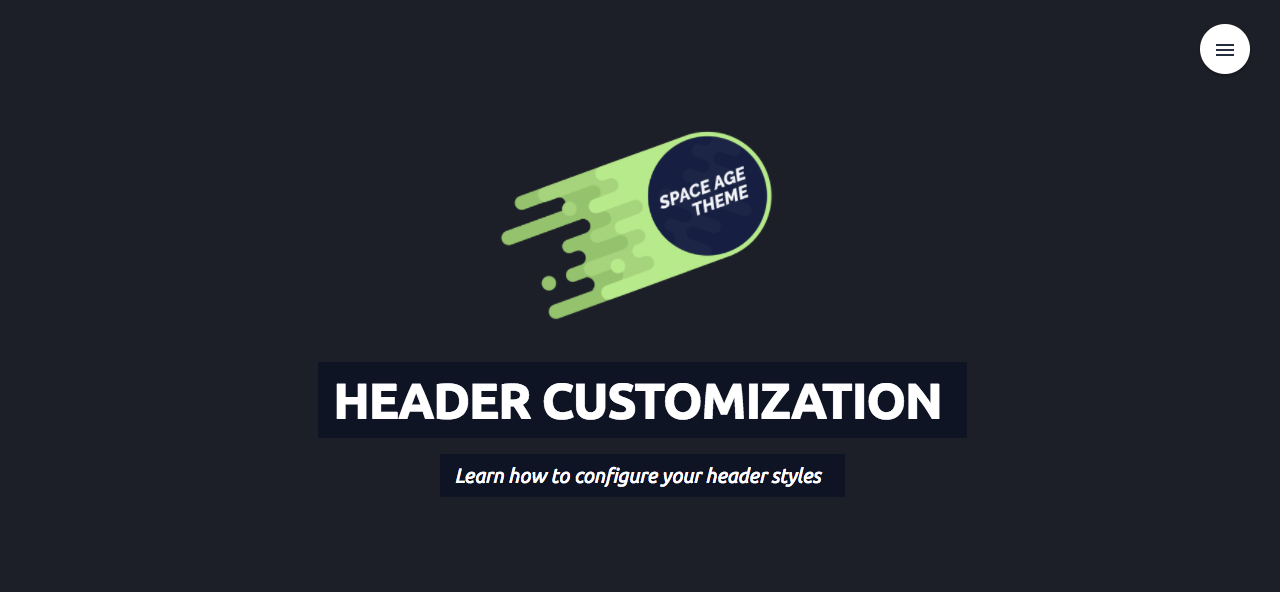
Now you will see that your page's header has changed to the custom background that you've selected. Awesome!
...
Using a Rapid Weavers Banner Image Feature
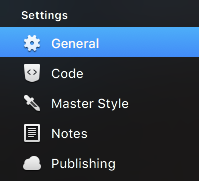
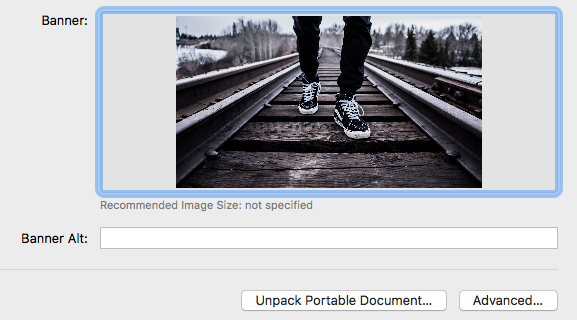
If you'd like to use a custom banner image through Rapid Weaver, first go to the General area under Settings.
From here you can click on the area that says Banner Image:
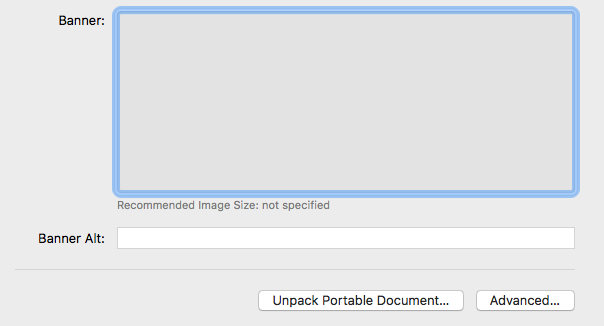
Once you have an image selected, it will look like this:
After this, you can go to your page, click on the Header > Background dropdown menu, and change it to the User Banner Image option.
!!! Note it is very important to set your banner image in Rapid Weaver before changing the option to User Banner Image on your page.

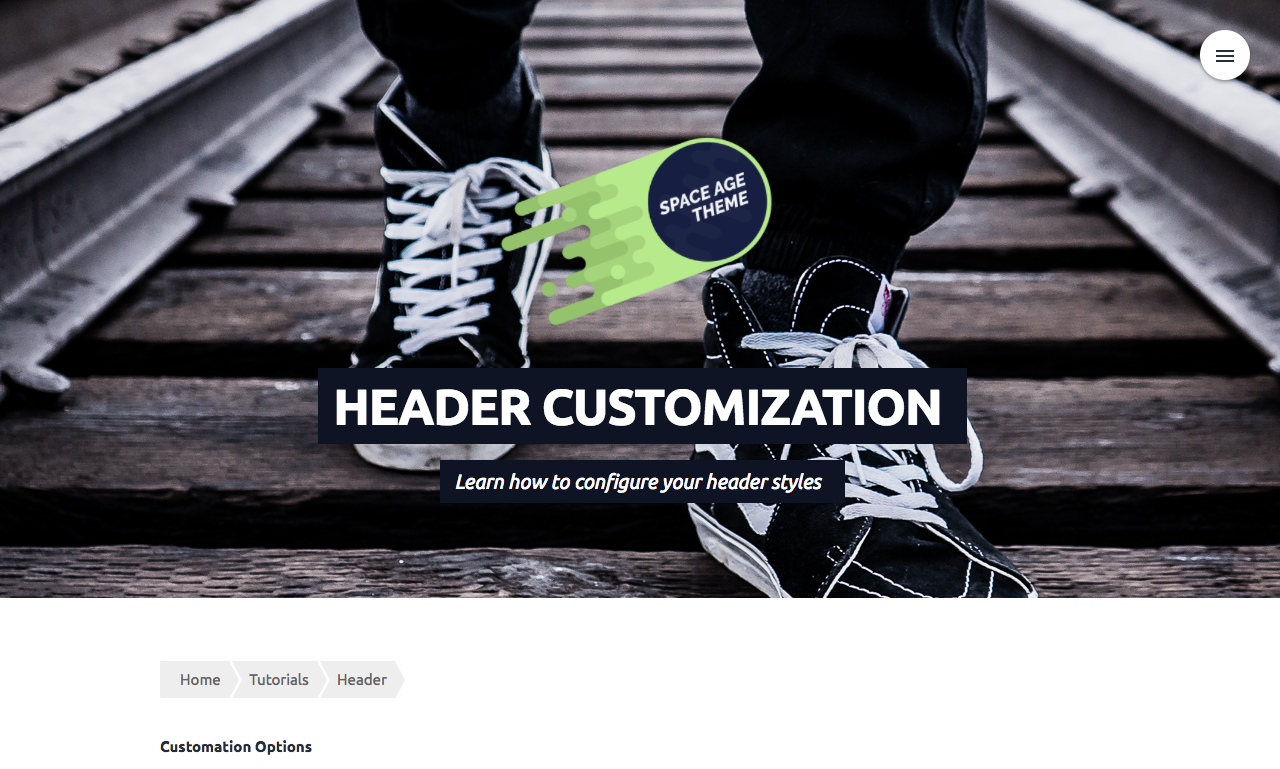
Alas, you should see your custom banner image as the background of your page header:
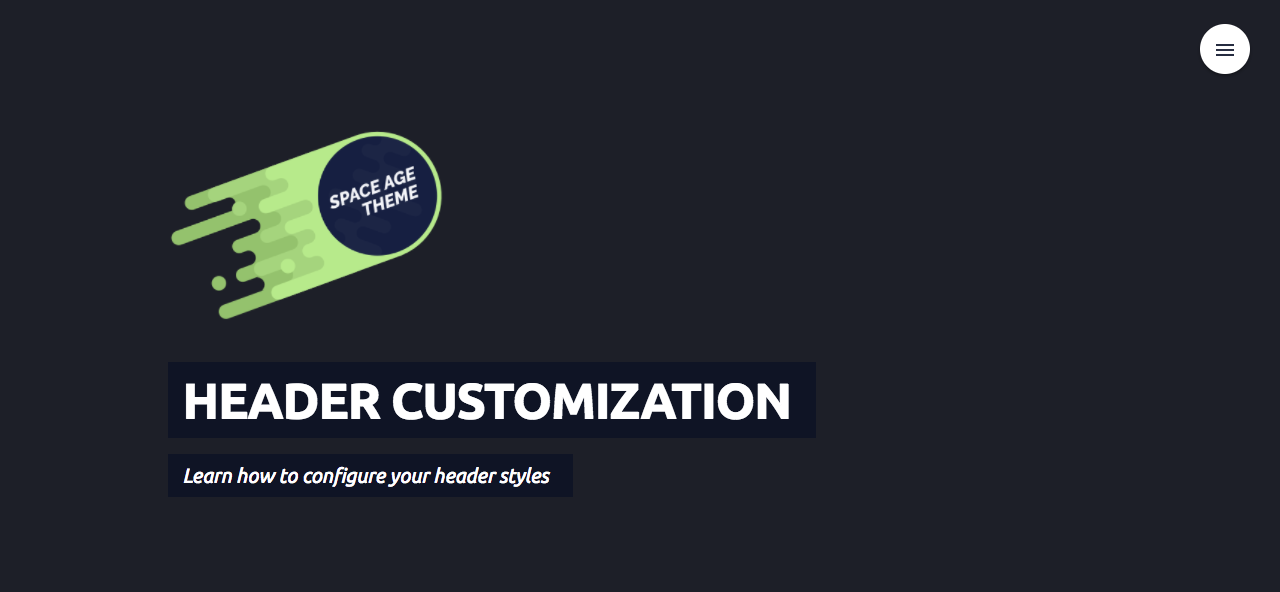
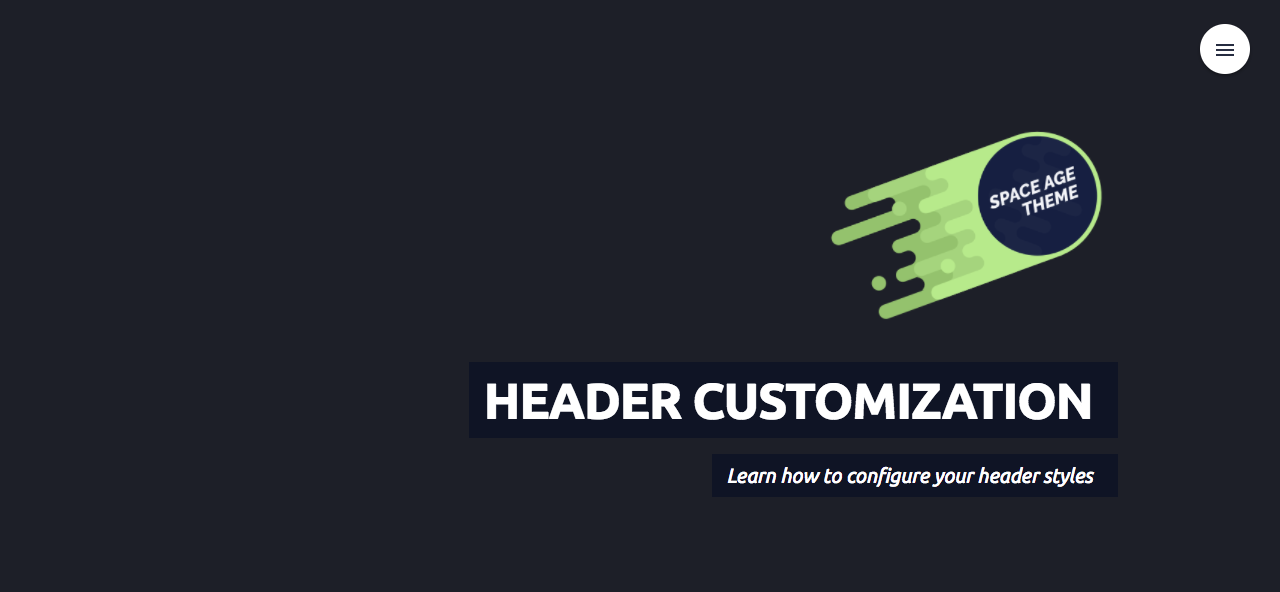
Header > Text Alignment
This option is allows you to choose the alignment of your header Logo, Title, and Slogan all at once. By default they are aligned to the center of the page, but you can also choose to align them to the left or the right.
Align Center

Align Left

Align Right

Header > Logo > Size
This option is used to specificy whether your header will have a Rectangular logo image, or a Square one. This allows your page to have the best fit for your logo.
You can set your sites logo image in the General section of Rapid Weaver, similar to how you set up your banner image.
Next, you can go to your page and click on the Header > Logo > Size dropdown, to choose the proper size.
There are only two options, so simply choose the option that best fits your logo images shape.
Rectangular
Square
Header > Logo > Animation
This option will allow you to add a special animation to the logo image in your page's header. There are 10 option to choose from:
- Bounce
- Flash
- Jello
- Pulse
- Rubber Band
- Shake
- Swing
- Tada
- Wobble
You can select the animation by clicking on the Header > Logo > Animation dropdown, and choosing the animation that you'd like.
By default the animation is set to none
If you'd like to choose an animation, change this to one of the specified animation names.
THE END
Congrats! If you've made it this far, you should fully understand how to customize your page's header. Easy eh?